Getting help
The guide inside the application, the pages in this documentation, the Support window in the ribbon, and what to include so a report can be acted on.
Help comes from three places, in this order: the guide inside the application, these pages, and SolarLayout itself. Work down the list — the first two are immediate, and the third goes faster when you arrive with the right details. Inside the application, the Docs button in the ribbon opens this site directly in your browser, and the Support button beside it opens a window for writing to SolarLayout without leaving the plot.
The guide inside the application
The application carries its own guide, so it is available with no internet connection and no second window to find.
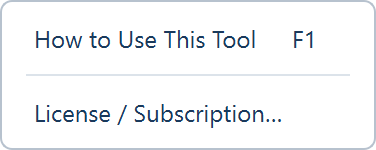
Press F1, or use Help ▸ How to Use This Tool. The guide opens as Help — SolarLayout, with its sections on tabs: Getting Started, Input Parameters, Layout / Sketch Editing, Inverters, ICR, Cables, Terrain / Obstructions, Energy Yield, SLD / BOM and Export, PDF, Licensing.
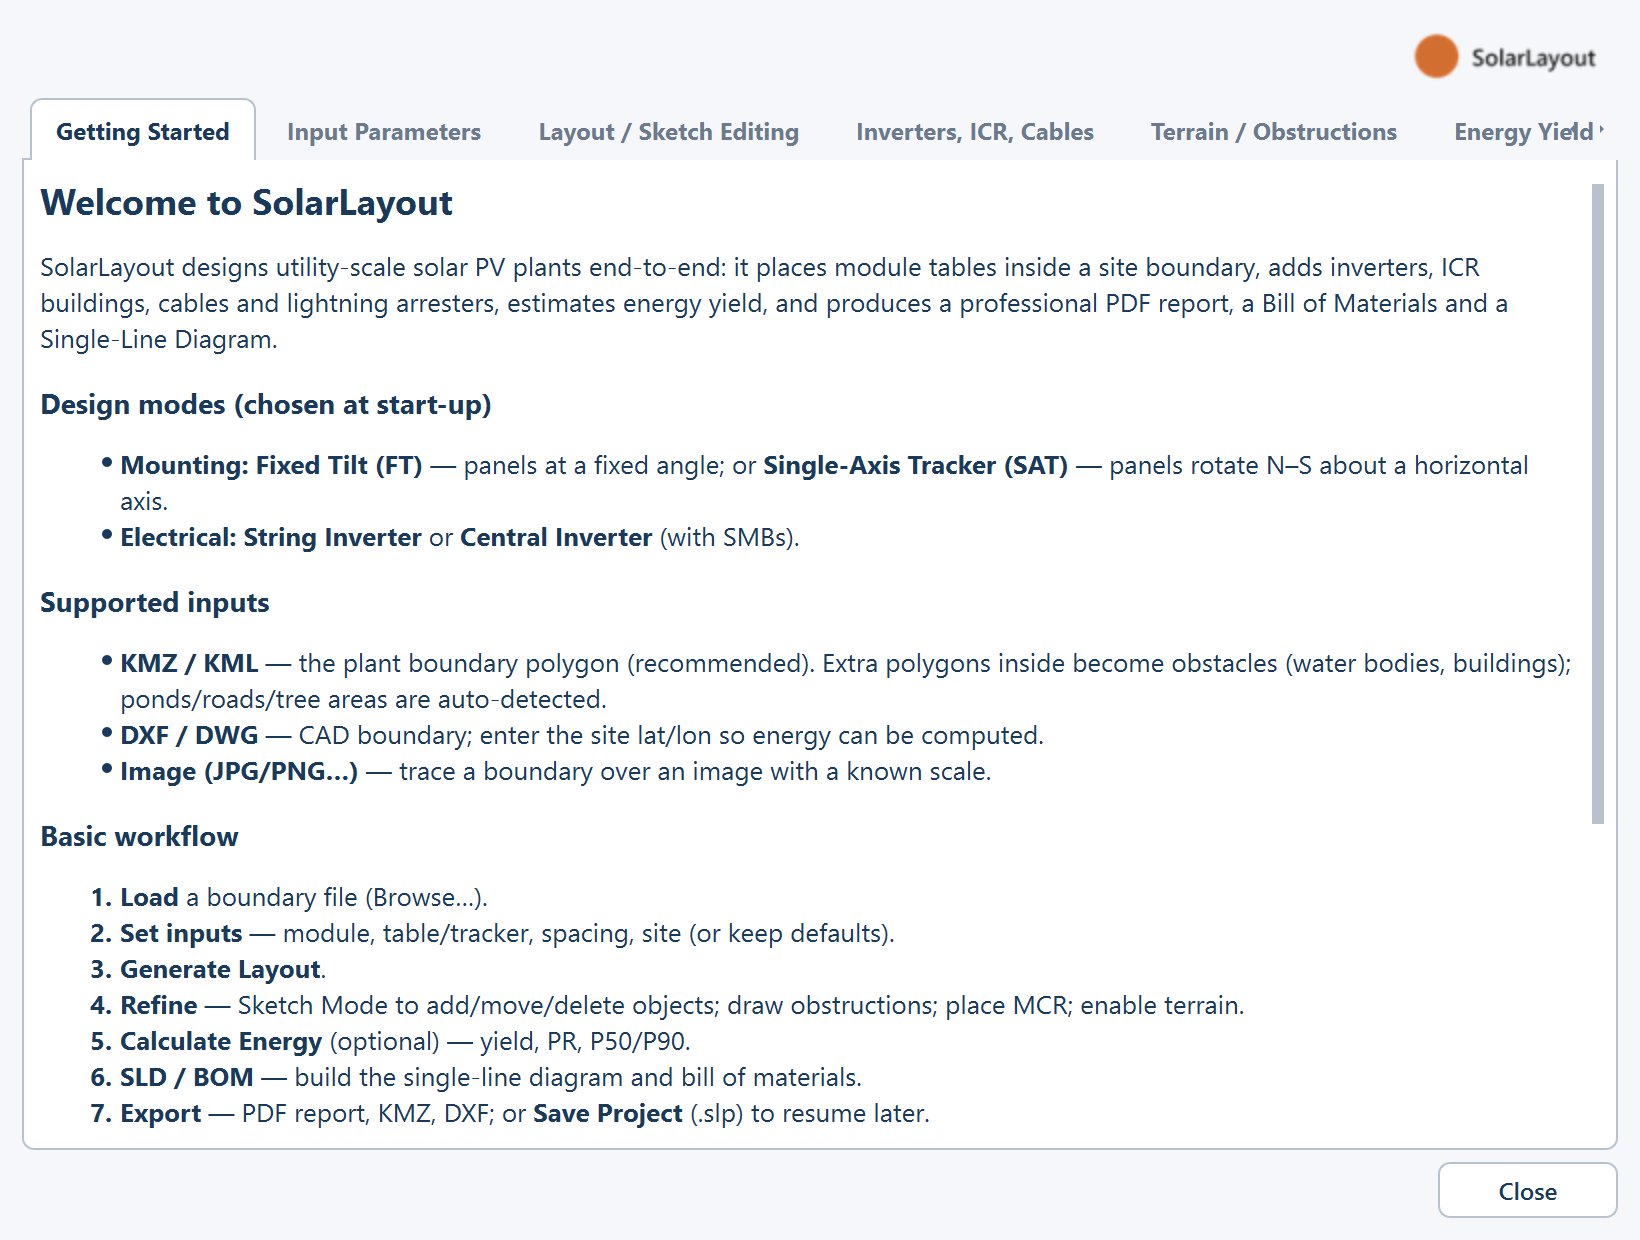
The in-app guide is older than the interface in places — it still describes back and forward arrows on the plot toolbar, quotes structure footprints that are no longer the defaults, and refers to a visible Device ID. Take the layout of the window from The main window, structure sizes from the fields on your own Site tab, and defaults and ranges from Every parameter and its default. These pages, not the guide, are the reference.
The boundary-preparation guide is separate and more specific. Click the ⓘ button beside Browse… in the Input Boundary File card on the Site tab. It covers how to prepare the file you are about to load: the plant boundary as a closed polygon, water bodies, transmission lines and obstructions, and the fact that every feature has to lie inside a boundary. Read it before you draw the file rather than after: a file that follows those rules loads without a Check boundaries complaint, and its water bodies, corridors and obstructions are all recognised. The same ground is covered in Boundary file requirements.
When the question is about a file you loaded
Two more things inside the application answer questions on their own, before anyone else is involved. Next to a loaded module file on the Array tab, View opens a read-only viewer of everything read from it — the basic data, the sizes and technology, the model parameters, and the current and power curves drawn from the values it declares. Next to a loaded inverter file on the Electrical tab, View does the same for the inverter's main parameters, efficiency curve and output parameters.
If a yield or a string length looks wrong, open the viewer first. It shows what the application actually read, which is not always what the datasheet says.
This documentation
Three pages answer most questions without anyone else being involved.
| Page | Use it for |
|---|---|
| Troubleshooting | A symptom — nothing placed, no cable lengths, a missing report section — and the setting behind it |
| Every parameter and its default | What a field does, what it defaults to, and the range it accepts |
| Glossary | A term or abbreviation used in the interface or in these pages |
Licence messages have their own page: Licence problems lists every message the licence check produces, what each one means, and what to do about it.
The Support window
The Support button in the ribbon opens Support / Feedback — "Tell us what's going on — we'll get back to you by email."
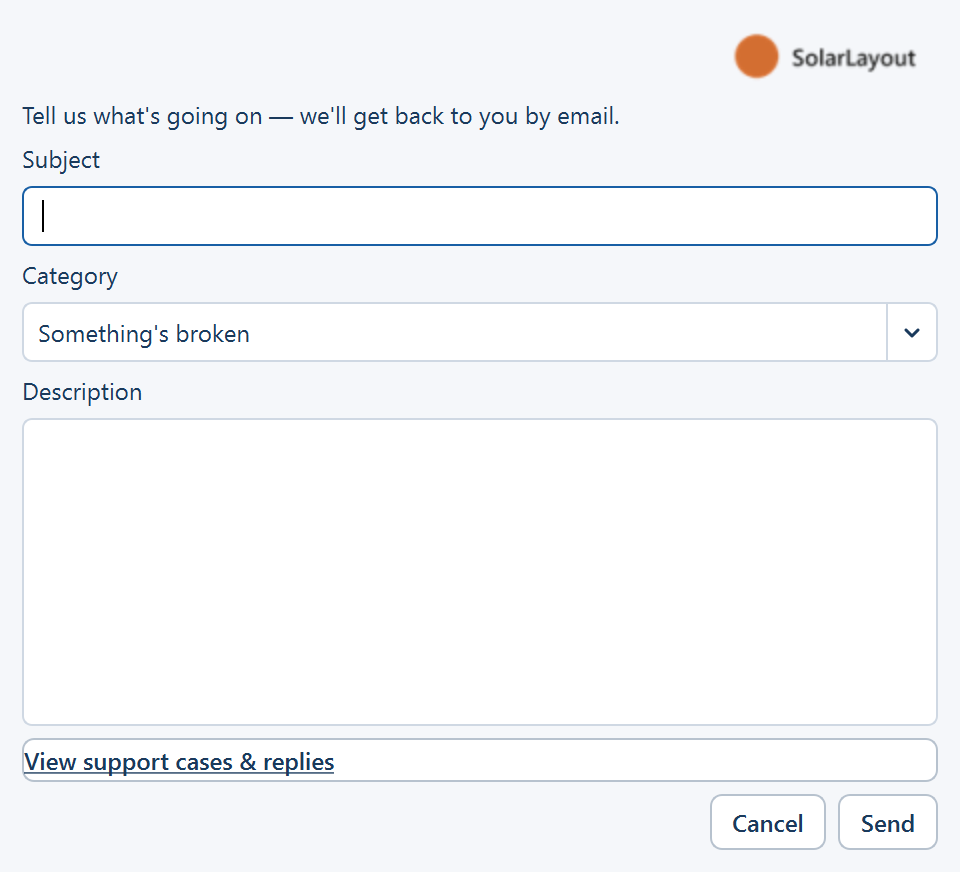
| Field | What to put in it |
|---|---|
| Subject | One line naming the problem or the question |
| Category | Something's broken · How do I… · I have a suggestion · Billing & account · My results don't look right |
| Description | The detail — the checklist below. At least 10 characters, or Send refuses with "Please enter a subject and a description (at least 10 characters)." |
Send files the ticket; a View support cases & replies link opens the list of your cases and the replies to them, the same list as Support cases in the License / Subscription window. Filing a ticket needs active access for this device: without it the window reads "You'll need active access to file a support ticket. Start a free trial, or contact us directly." and offers Get Free Access and Contact Us instead.
Contacting a person
Write to sales@solarlayout.app.
That is the route for all of it — access for a new machine, a renewal or an extension, a billing question, and any problem these pages do not resolve. Include the details in the checklist below so the first reply can be a useful one.
Two things these pages deliberately do not cover, because they are not properties of the application: what the product costs, and how long an access period runs. Both are commercial questions for the same address. What the documentation does cover is everything on your side — activation, the Device ID, and every message the check can produce.
What to include in a report
A report that carries its own evidence is usually answered in one exchange. One that does not takes several. Include as much of this as applies:
- What you were doing. The design named in the ribbon's design chip, which tab or view you had reached, and what you clicked last.
- The exact message text, if there was one. Copy the wording rather than describing it — the wording identifies which check or which stage stopped, and that is usually most of the diagnosis. Include any date or name the message quotes.
- What you expected, and what happened instead. One sentence each. "I expected tables across the north half; the north half is empty."
- The boundary file, if the problem concerns the layout. Send the file you loaded, unedited. Almost every layout question — missing tables, a band with nothing in it, an obstruction that had no effect — is answered by reading the file.
- The project file, if you can save one. Save project stores the whole session: inputs, the layout, sketch edits, the diagram, the bill of materials and terrain. It reproduces what you were looking at without anyone having to guess at your inputs. See Saving and reopening projects.
- Your Device ID, if the problem concerns access. Check the access chip in the ribbon first — it already tells you whether you are Active, or your access has expired or been revoked — then open Help ▸ License / Subscription…, expand Having trouble? and use the Copy button for the Device ID — never retype it. See Activate your licence.
- The version you are running, shown at the right of the status bar at the bottom of the main window (for example v1.2.0).
Send it as one message with the files attached, or paste it into the Support window and attach the files by mail if asked. A report that arrives in pieces is answered in pieces, and every round trip adds delay.
After an unexpected error
If the message read "An unexpected error occurred, but the application will keep
running.", include the log as well. The details are appended to a file named
solarlayout_error.log in the Windows temporary folder — type %TEMP% into the
address bar of File Explorer to open it. Attach the file itself rather than a
screenshot of it, and say roughly when the error happened, because the file
accumulates every error the application has reported.
Send screenshots of the interface, not of numbers
A screenshot is the fastest way to show a window, a message or a layout that looks wrong. It is the slowest way to communicate figures — nobody can compare rows from an image. For anything numeric, send the project file, use Copy on the Summary view and paste the sheet, or export the report and send that.